Chain Maintenance: The Five-Minute Version
May 27, 2026
Most riders treat their chain like a battery — invisible until it fails, then expensive when it does. That's a $200 mistake repeating itself every 8,000 km, and it's completely avoidable with a routine that takes less time than scrolling Instagram on the toilet.
This is the 5-minute version. The full guide goes much deeper — chain alignment, sprocket wear measurement, lube science, when to replace vs. when to clean. But if you do just what's below, every Sunday, you'll outlast 90% of riders on equipment cost.
What you actually need
- A chain cleaner (Motul C1, Maxima Clean Up, S100 — any of them work)
- A chain lube (Motul C2 for street, C4 for off-road / wet; do not use WD-40 — see "Why not WD-40" below)
- A stiff bristle brush (a $4 plastic one beats a $40 "chain brush" branded with a logo)
- A rag that you're OK throwing out
- A paddock stand OR the centerstand if your bike has one
That's it. Don't buy the $80 chain maintenance kit. The fancy bracket holds the bike up — you already have one if you have a centerstand.
The routine
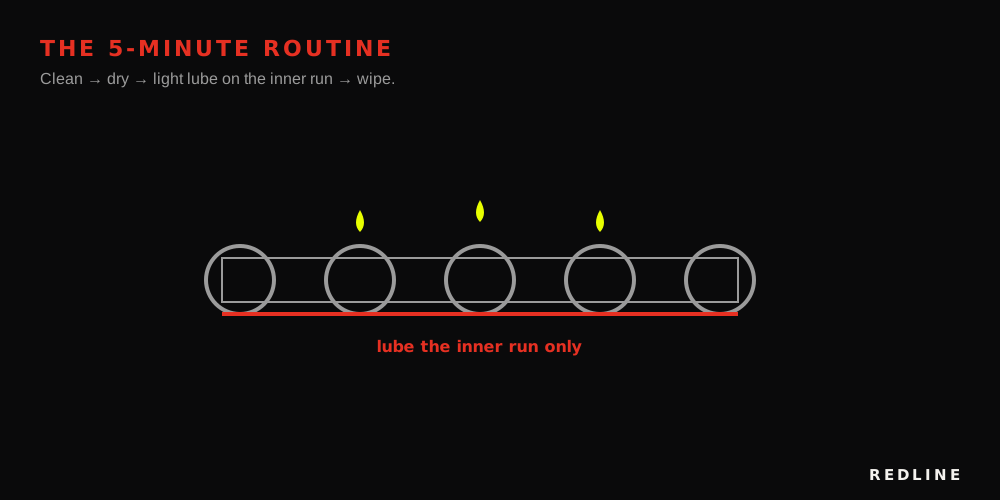
Do this every 500 km if you ride mostly highway. Every 300 km if you ride in rain or on dirt.
- Bike on stand, gear in neutral.
- Spray cleaner around the full length of the chain while slowly rotating the rear wheel by hand. Don't blast the o-rings — light spray, not a power wash.
- Brush the grime off. Top, bottom, and both sides. You should see the chain go from brown to silver again.
- Wipe with the rag. Get most of the wet residue off — chain should be "damp but not soaked".
- Let it dry for 2-3 minutes. Walk away, grab water.
- Apply lube. Aim at the inner side of the chain (the part touching the sprocket) while rotating the wheel. Light coat — heavy lube attracts dirt and makes the next cleaning twice as long.
- Wipe excess with the rag.
Done. Go ride.
The mistakes that cost you sprockets
Cleaning hot. A hot chain coming off a ride will flash-evaporate the cleaner before it does anything. Let the bike cool for 15 minutes first.
Lubing dirty. Lube on top of old grit just makes paste. Paste eats sprockets. Always clean before lubing — even if it looks "fine".
Skipping the brush. Spray cleaner alone doesn't dissolve the baked-on chain wax. The brush is what makes the routine work — don't skip it.
Using WD-40. WD-40 is a displacer — it cleans, sort of, but it's not a lubricant. Some riders use it as a cleaner and then apply real chain lube after. Fine. But applying WD-40 as the lube itself? You'll be replacing the chain in 5,000 km.
How to know your chain needs replacing (not cleaning)
Three checks, 30 seconds:
- Pull test. Grab the chain at the rear sprocket and pull it away from the sprocket. If you can see daylight under more than one tooth, your chain has stretched past its service life. Replace.
- Sprocket tooth shape. Healthy teeth are symmetrical. Worn teeth look like shark fins — hooked on one side. If you see hooks, replace the front and rear sprockets with the chain. Never replace just one.
- Tight spots. Rotate the wheel slowly. If you can feel the chain bind at a specific point, that link is seized. Doesn't always mean replace — sometimes a deep clean + soak unsticks it. But if it comes back after a clean, replace.
What we didn't cover
This is the surface. We didn't touch on:
- Chain alignment (the rear axle adjuster trick that 60% of new owners do wrong)
- Tension specs (your manual lies — here's why and what to use instead)
- Lube science (wet, dry, ceramic, wax — when each one matters)
- Sprocket selection (when going +1/-1 actually helps and when it doesn't)
- Pre-trip chain checks (the 60-second walkaround that saves long-distance trips)
Each of those is its own conversation, with photos, torque specs, and the specific tools we'd actually buy if it were our bike.
— REDLINE