How to Wheelie: The First Steps (Done Safely)
May 28, 2026
Let's get the important part out of the way first: this is a closed-environment skill. Empty private lot, full gear, a bike you own. Not traffic, not the street, not showing off for a phone camera. Done that way, learning to lift the front wheel under control is one of the best confidence-builders in riding. Done on a public road, it's how people get hurt and lose their license.
With that understood — here are the real first steps.
The secret isn't the throttle. It's the rear brake.
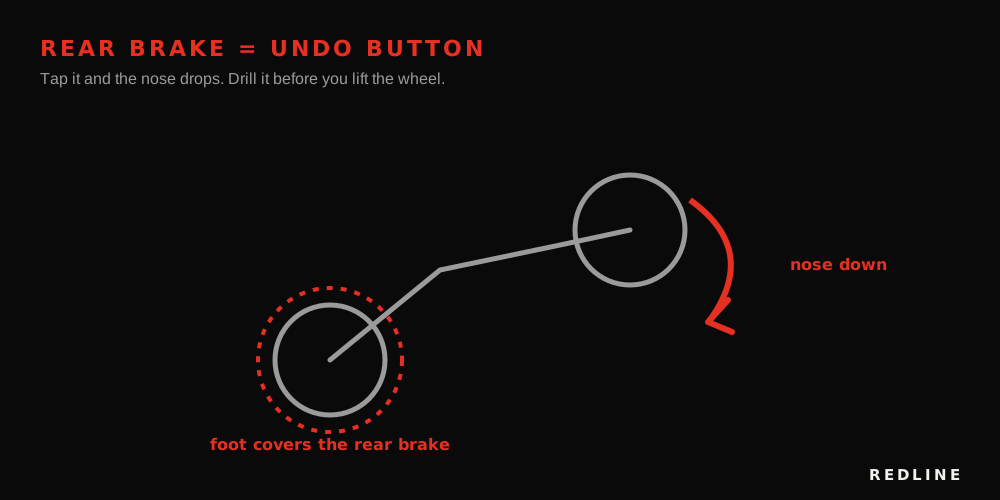
Every beginner thinks a wheelie is about how hard you twist the throttle. It isn't. The skill that makes wheelies safe is the rear brake, and here's the physics: if the front comes up too far, a light tap of the rear brake instantly brings it back down. Tap it in time and it is physically impossible to loop the bike.
So the very first thing you practice has nothing to do with lifting the wheel. It's riding with your right foot resting on the rear brake, learning to give it a smooth, calibrated dab — not a stomp — until that's completely automatic.
If you can't yet ride a full session with your foot covering the rear brake, tapping it smoothly on command, you're not ready to lift the front. That's not us being cautious for liability — it's the actual order the skill has to be learned in.
Small lifts, fifty times
The second thing every beginner gets wrong is chasing height. The right goal for your first month is lifting the front wheel six inches and setting it back down — fifty times a session. Boring, controlled, repeatable.
You're building two things: the muscle memory of a smooth throttle roll-on (not a stab), and total comfort with bringing the wheel back down on command. Height comes later, and it comes easily once the control is there. Skip the control and you're just gambling.
The motion (power wheelie)
On most bikes with reasonable midrange, you don't even need the clutch. Rolling at a walking-pace 15 km/h in first gear:
- Briefly roll off the throttle to dip the front forks down.
- As the forks rebound back up, smoothly roll on the throttle.
- The suspension rebound plus the torque lifts the front a few inches.
- Ease off — or tap that rear brake — and set it gently back down.
The whole thing is smooth. The single biggest mistake is stabbing the throttle, which launches the front up violently and past where you wanted it. Calm, deliberate roll-on. Every time.
Look ahead, knees on the tank
Three body-position basics that make it click:
- Look up the lot, not at the front wheel. Same rule as cornering — you balance toward where your eyes go. Stare at the tire and you'll wobble.
- Grip the tank with your knees so your arms can stay loose. Tense, locked arms fight the bike.
- Foot covering the rear brake. Always. It's your undo button.
What the full guide covers
This is enough to understand why the rear brake matters and what the first motion feels like. The complete guide goes step-by-step through:
- Drill 0 — the exact rear-brake routine to run before you ever lift the wheel
- The week-by-week progression from 6-inch lifts to feeling for the balance point, with no skipped steps
- Power vs. clutch method — which your specific bike wants and why
- Reading the balance point without looping
- The full gear and safe-setting checklist
It's the patient, no-ego version — the one that gets you controlling the front wheel without a trip to the ER or a dropped bike.
— REDLINE